

Features
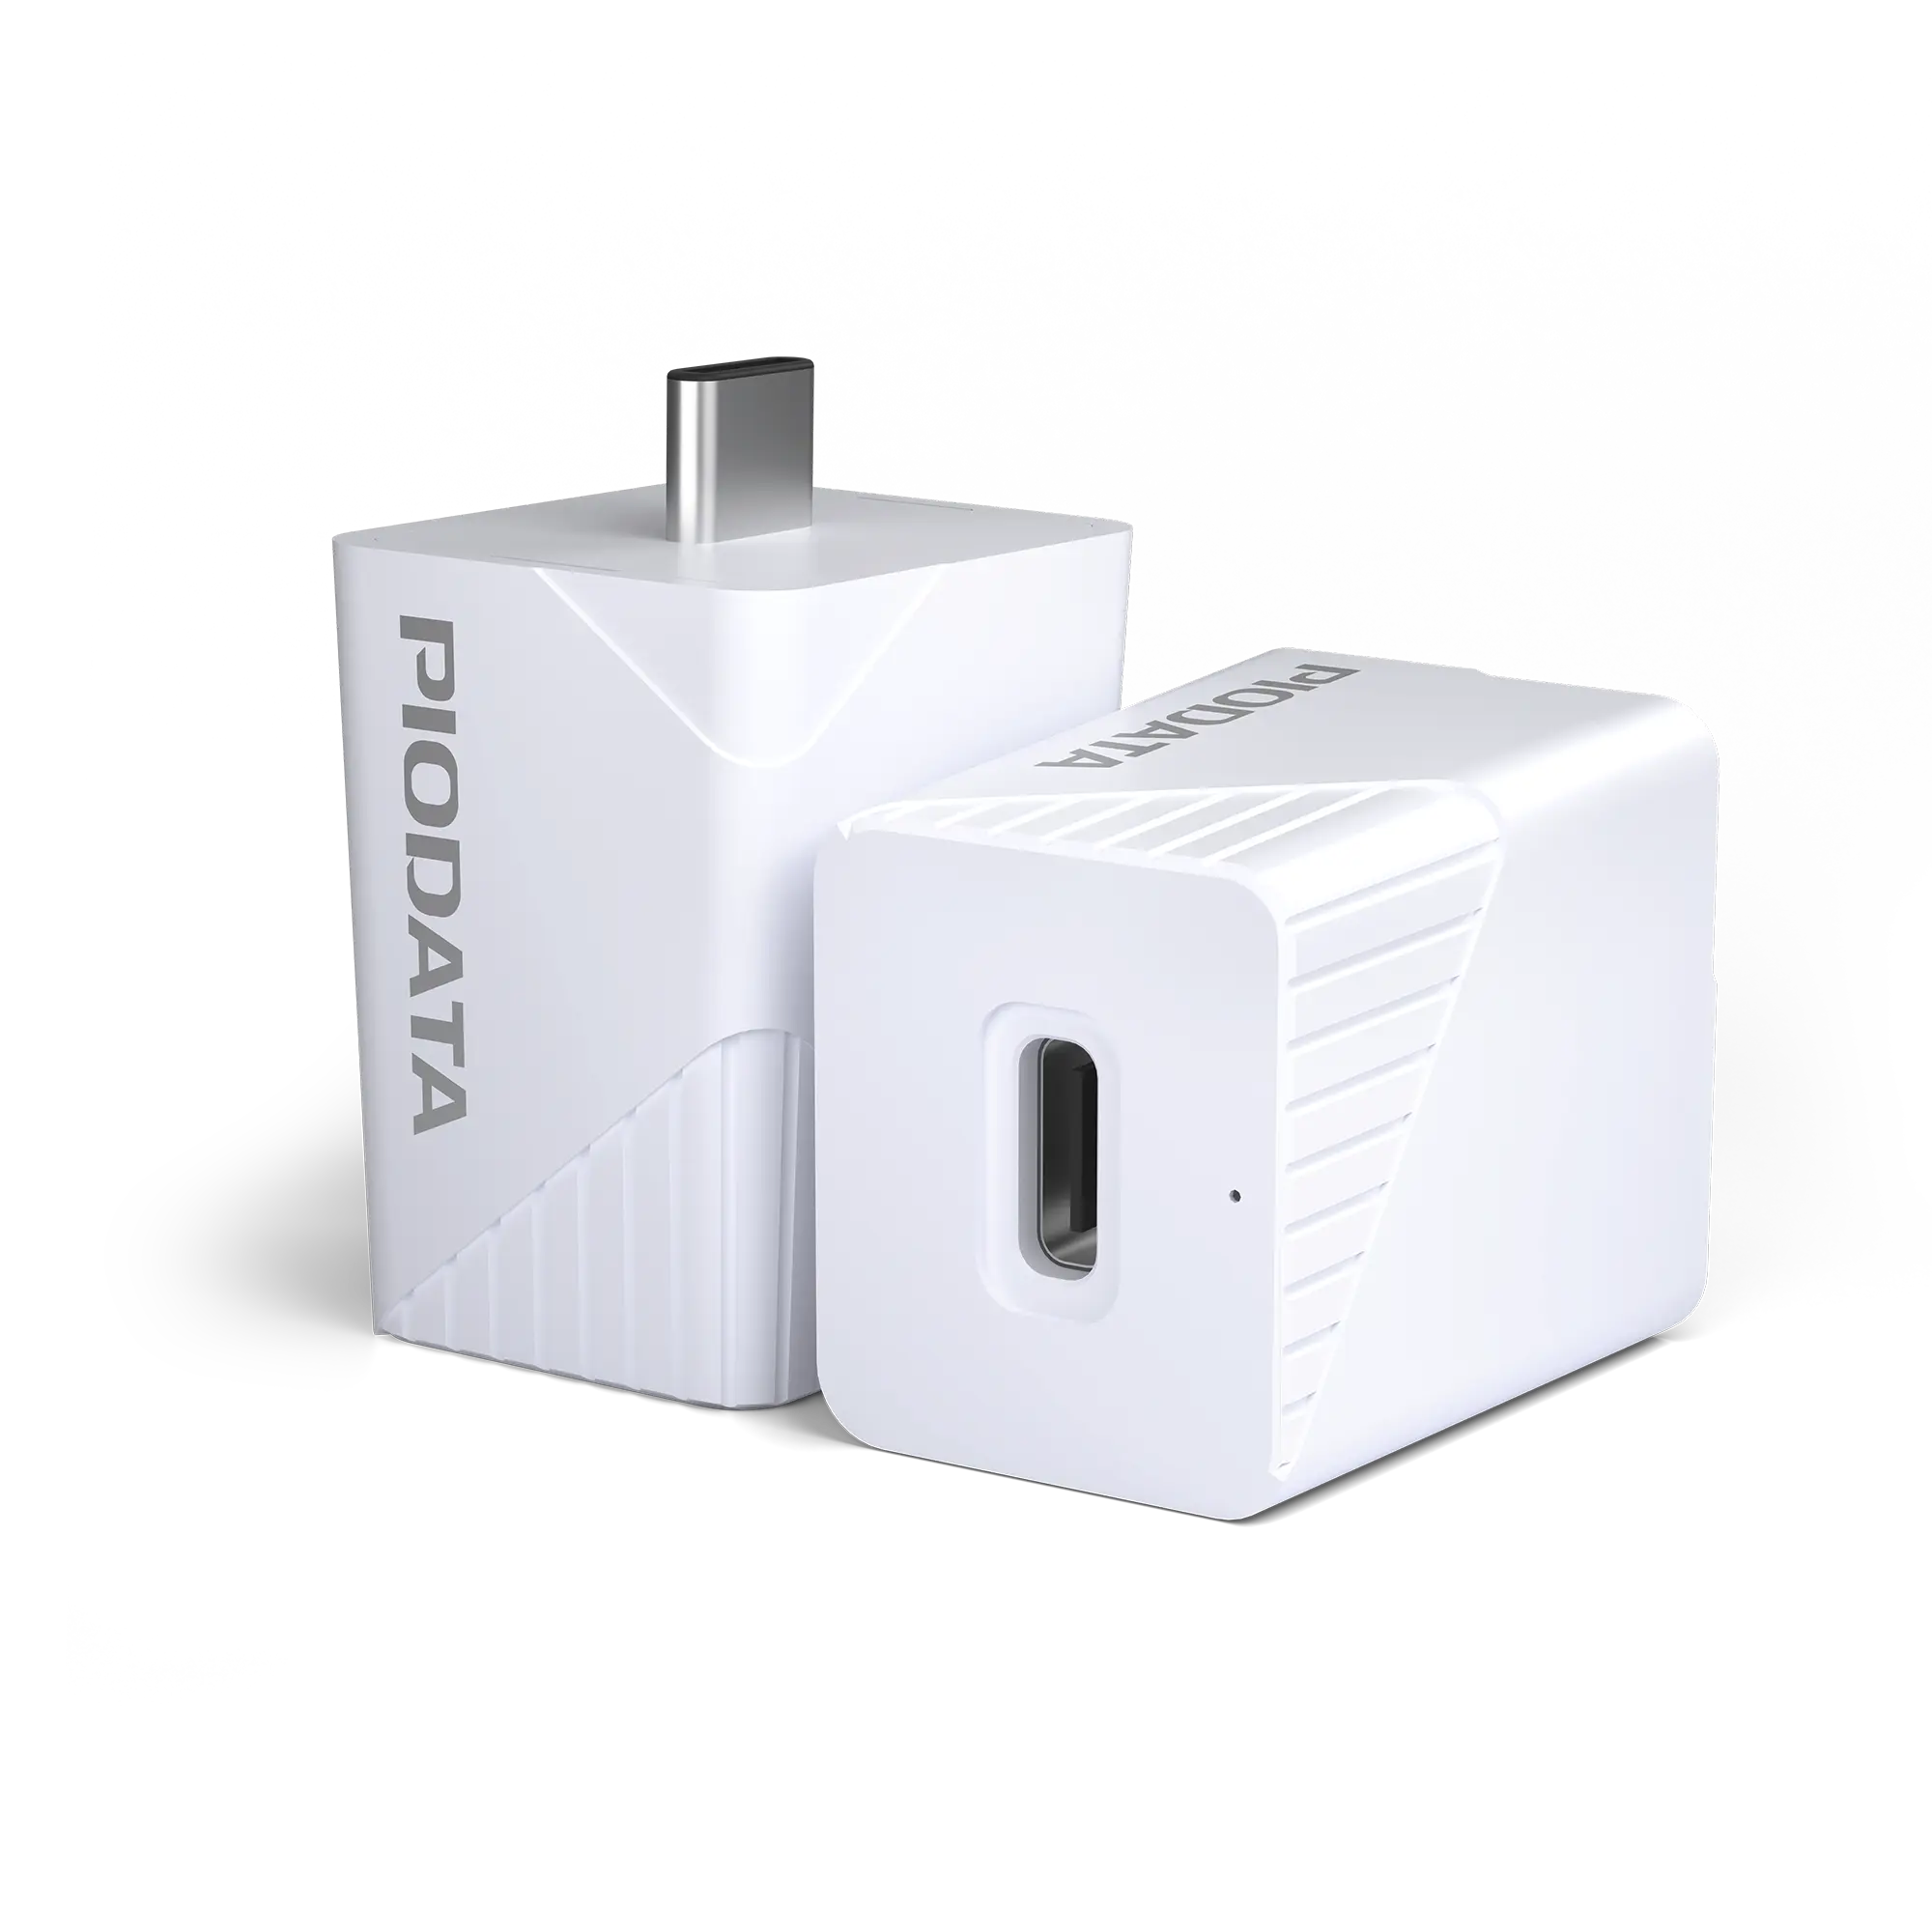
The iXCharger combines fast charging, local data backup, and up to 1 TB of storage – all in one compact device.
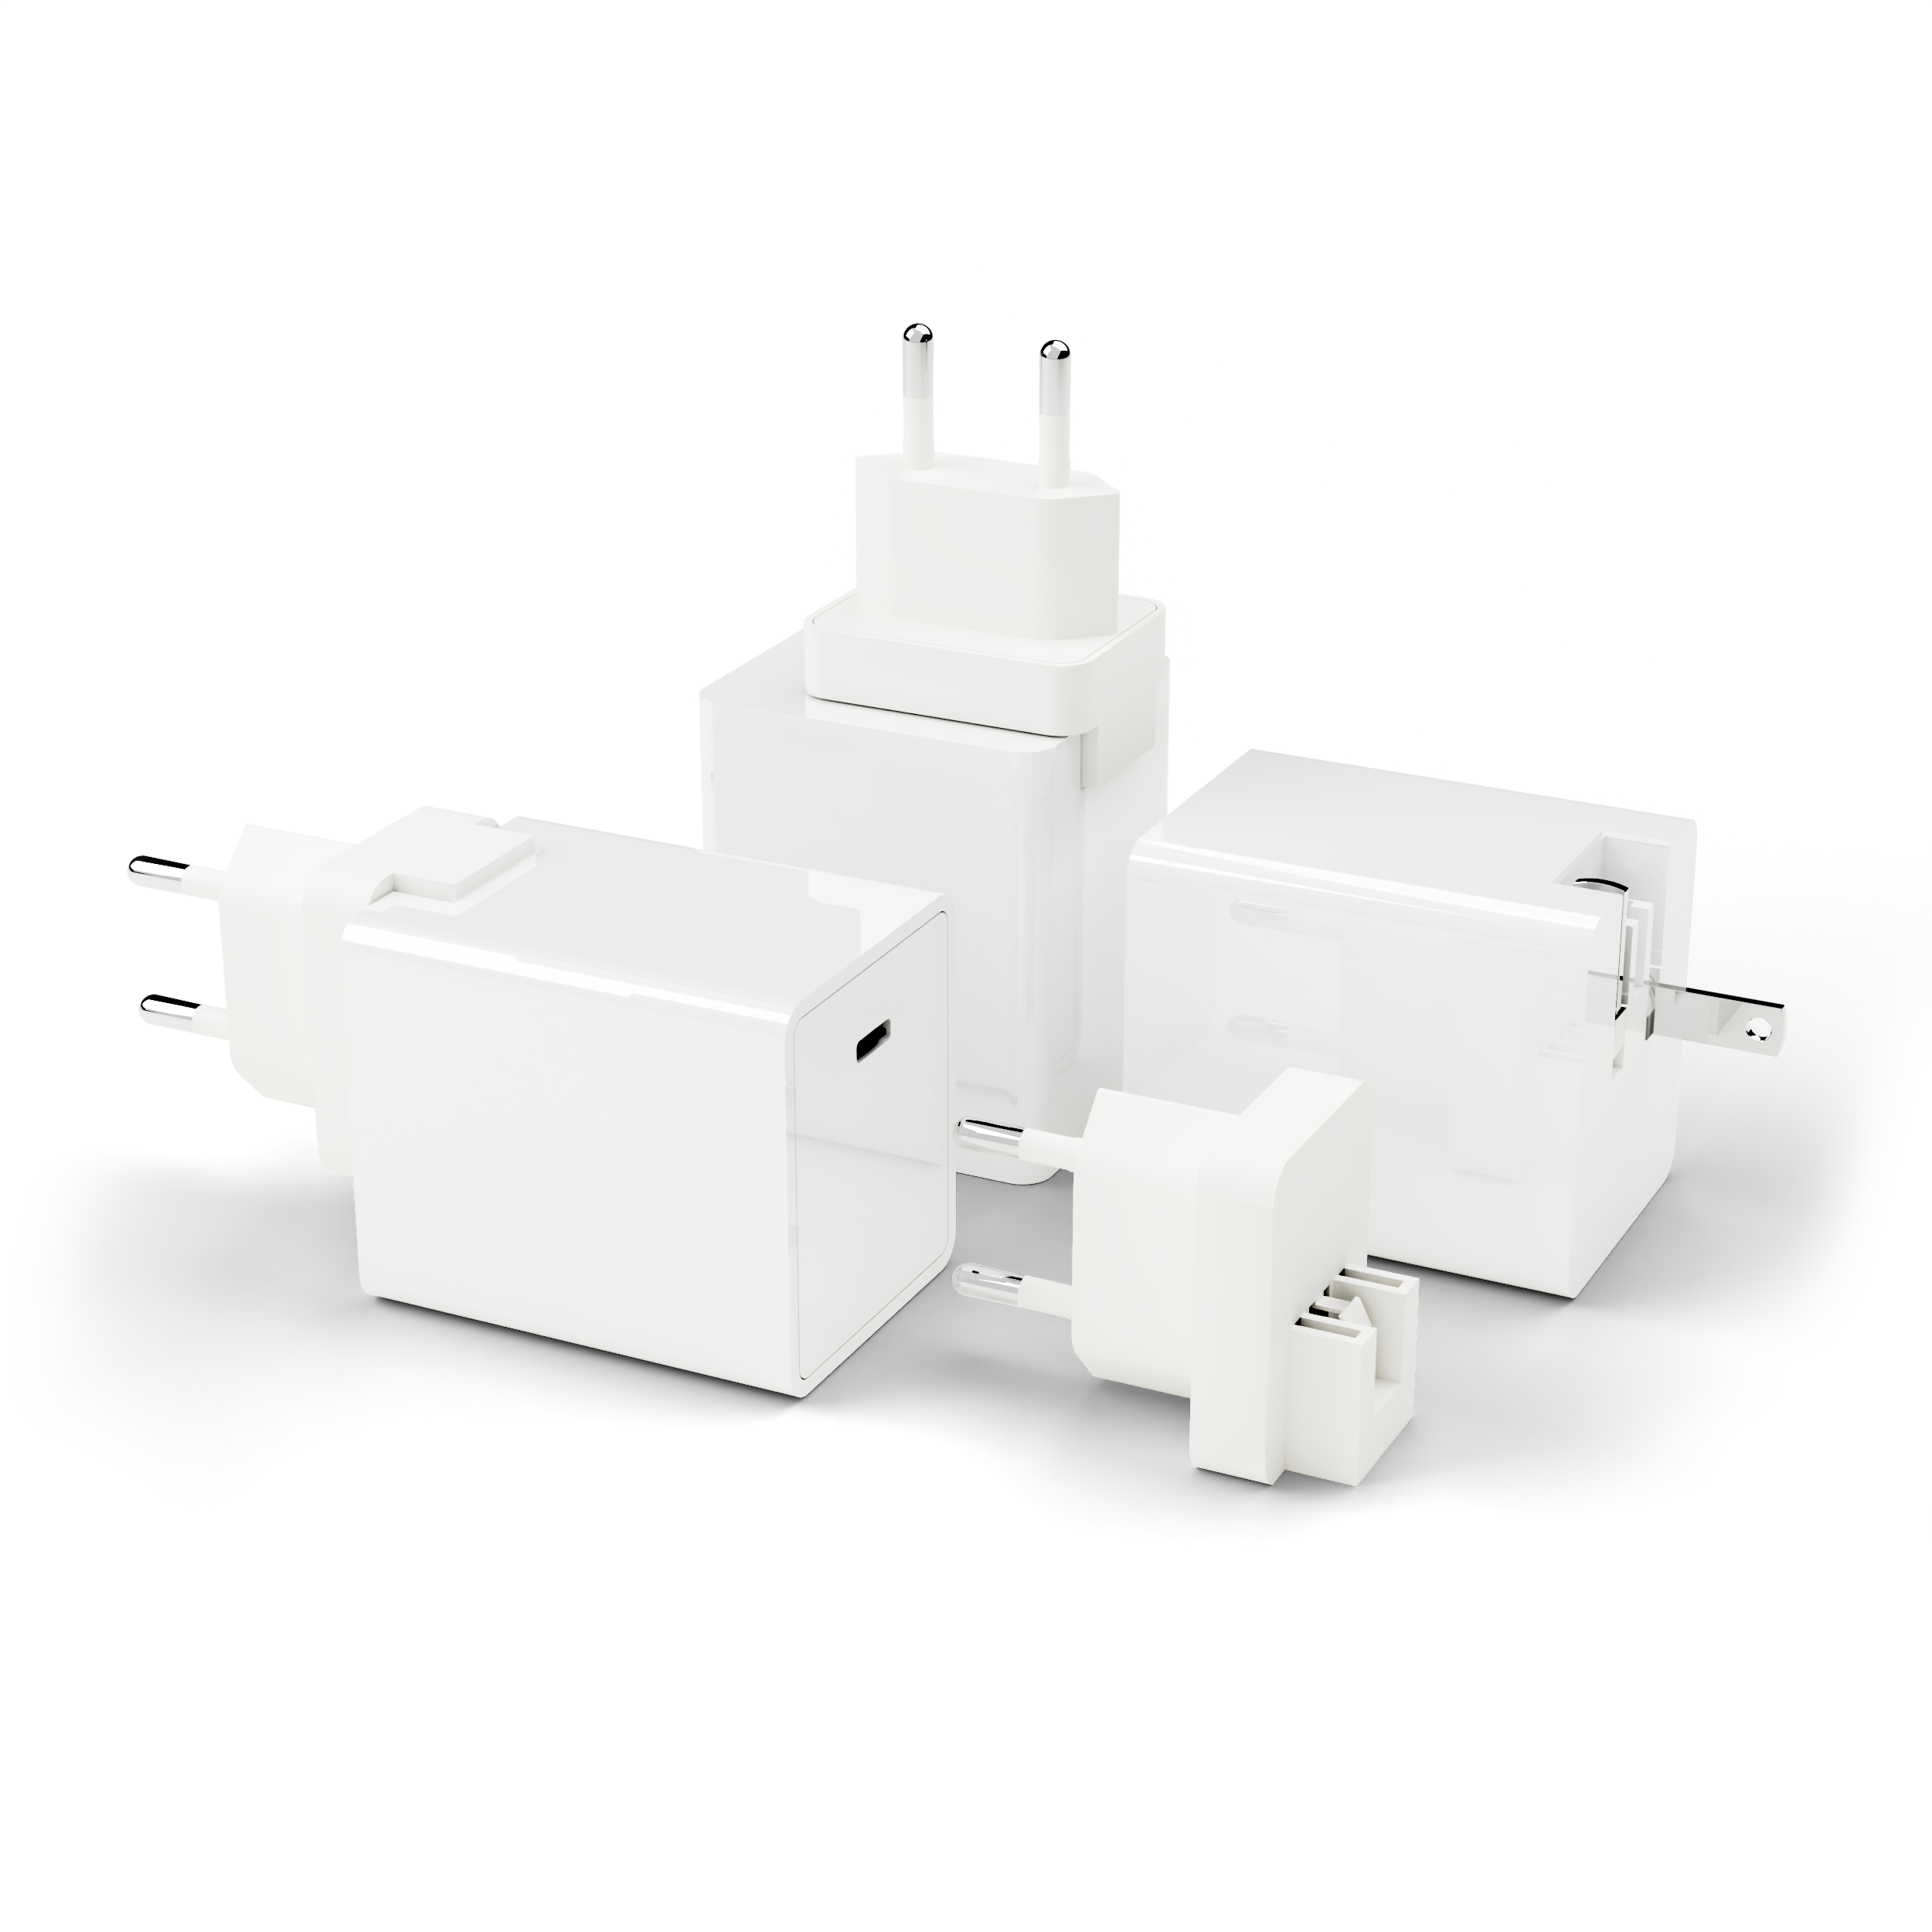
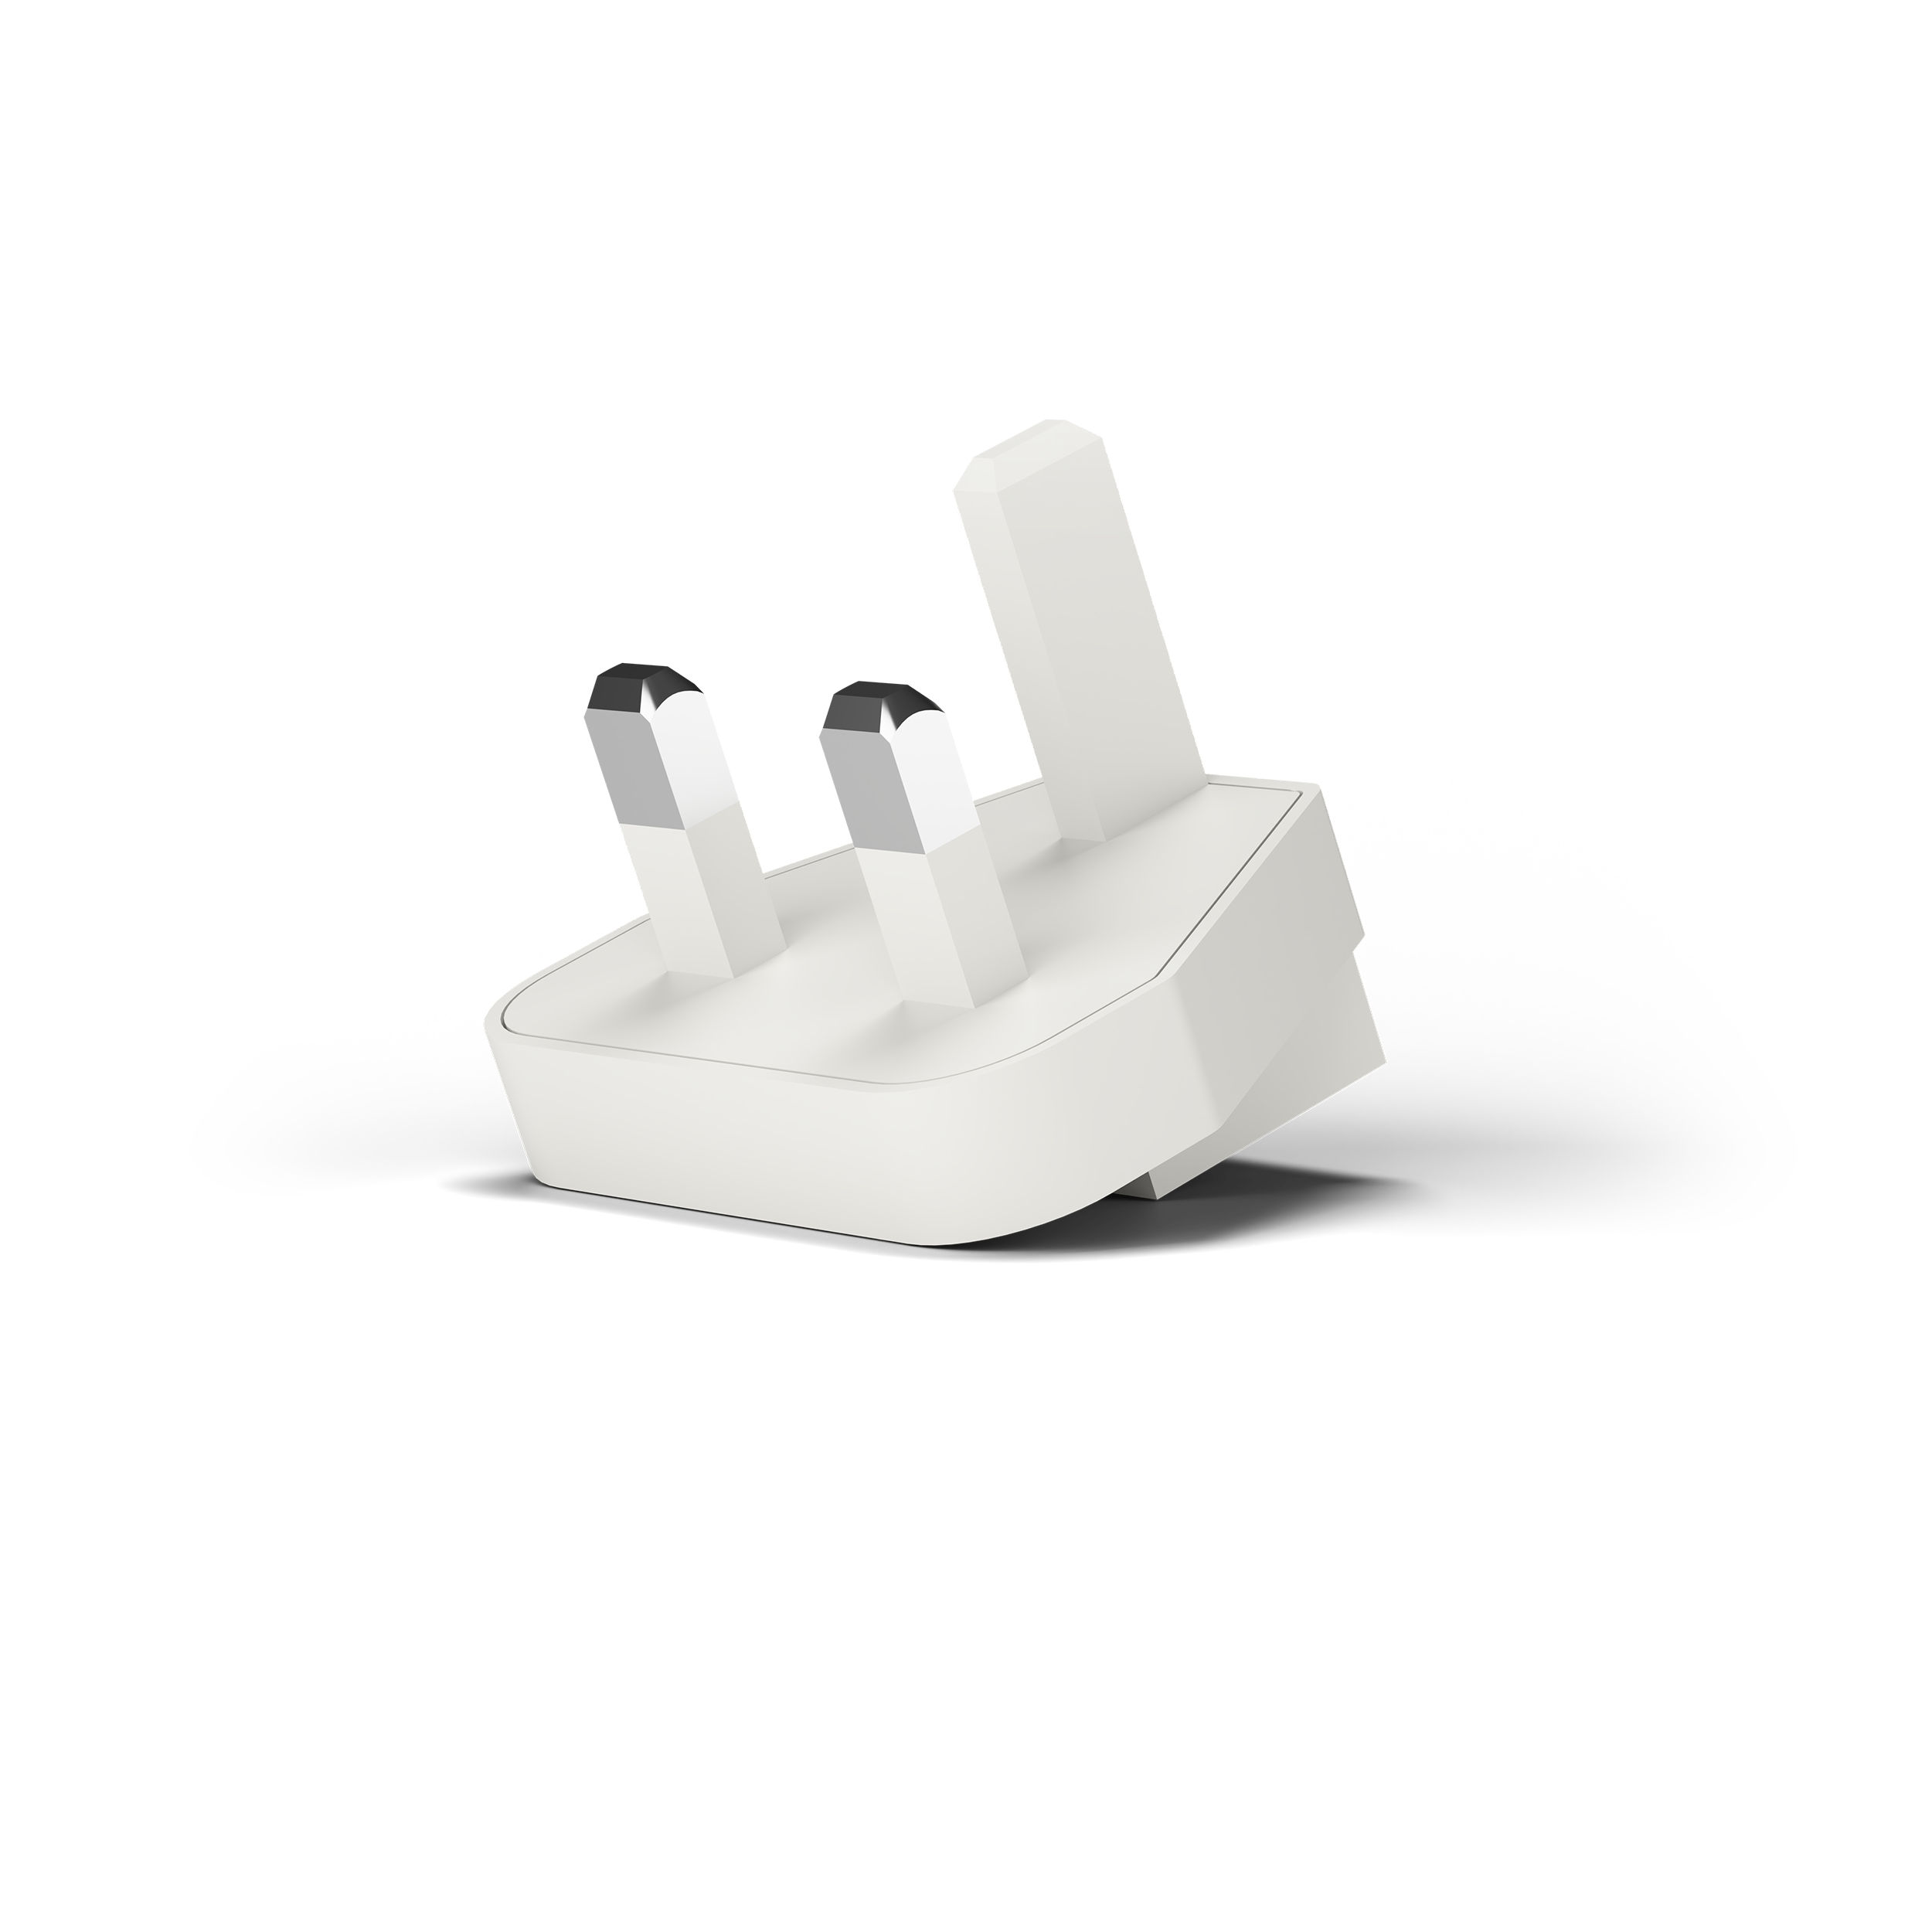
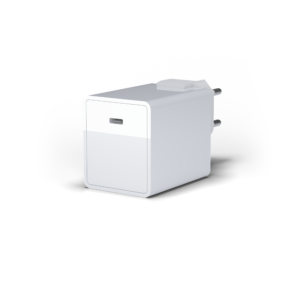
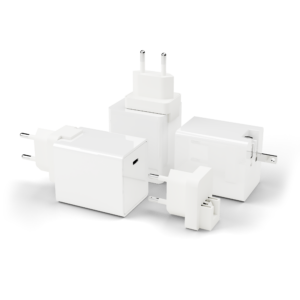
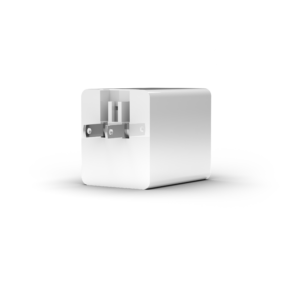
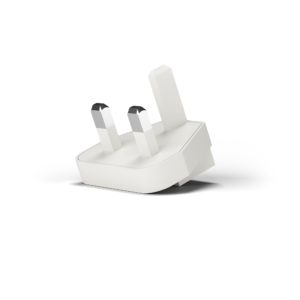
Power plugs
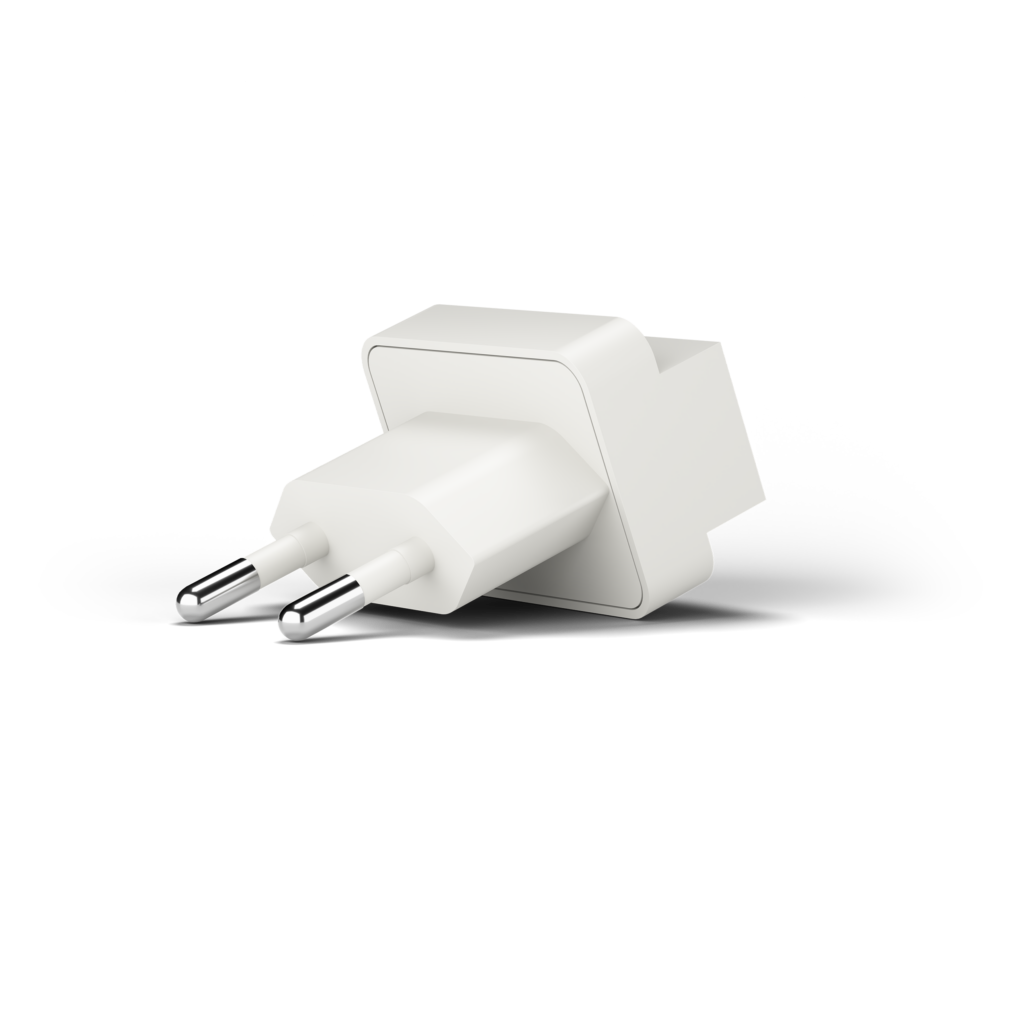
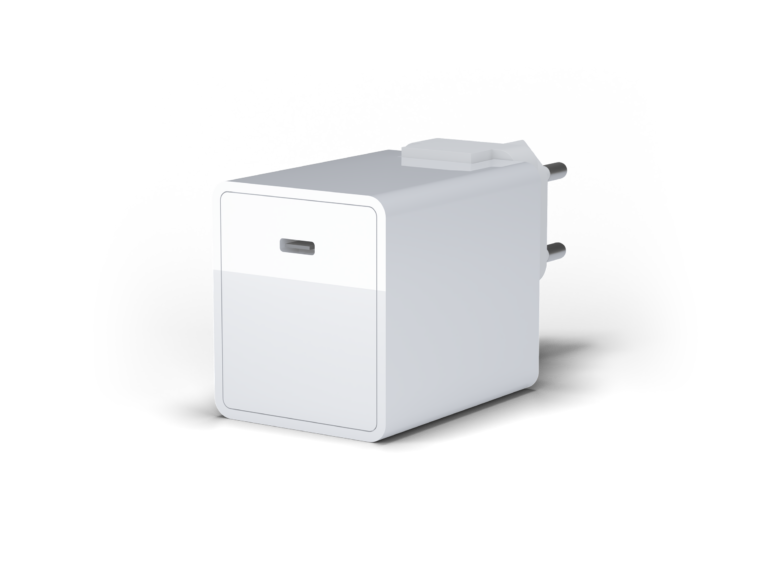
EU-Plug
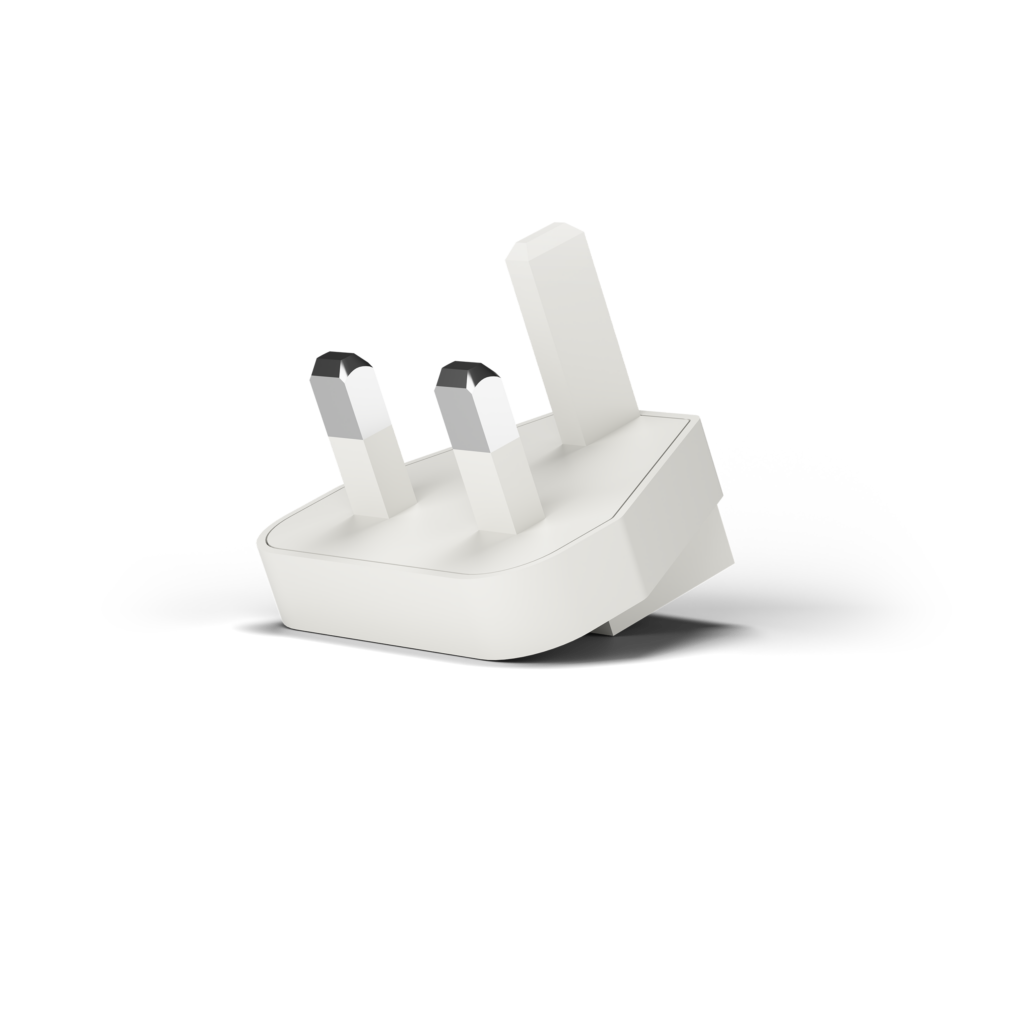
UK-Plug
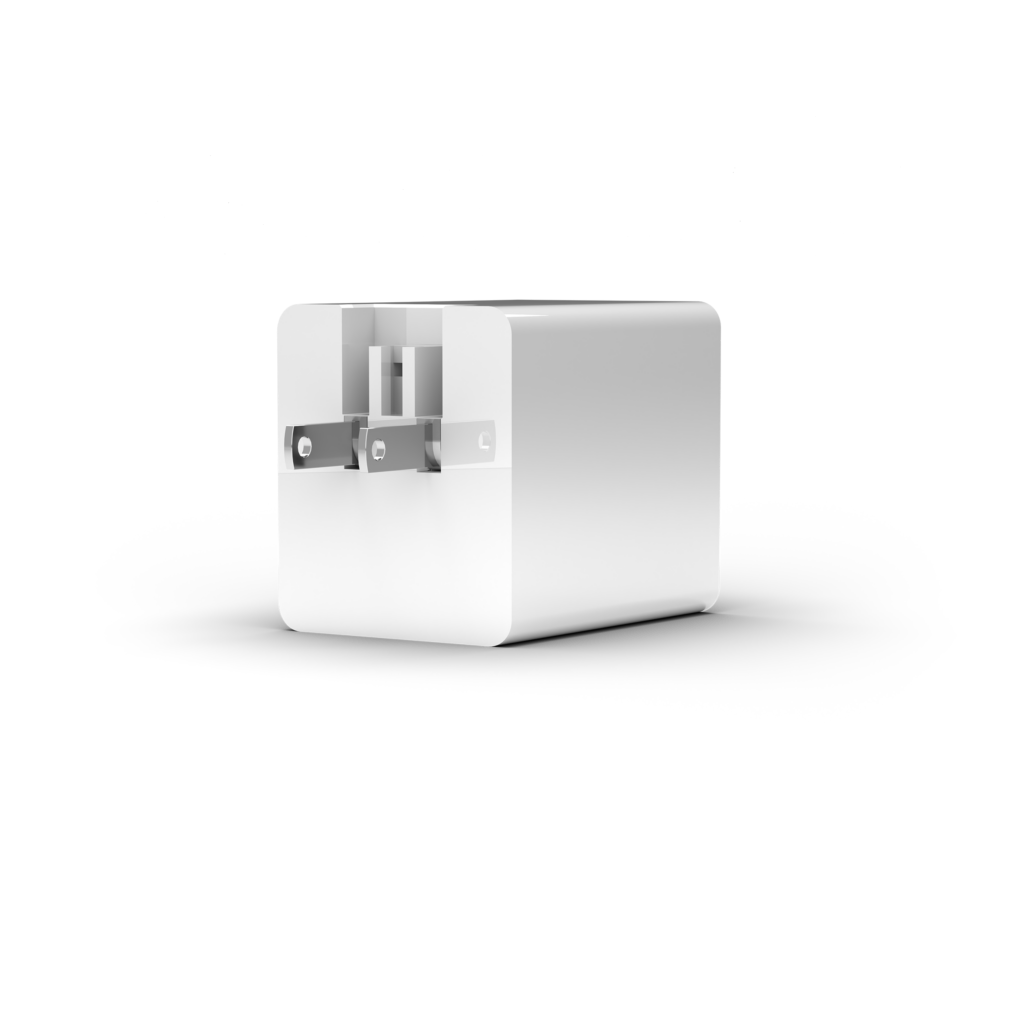
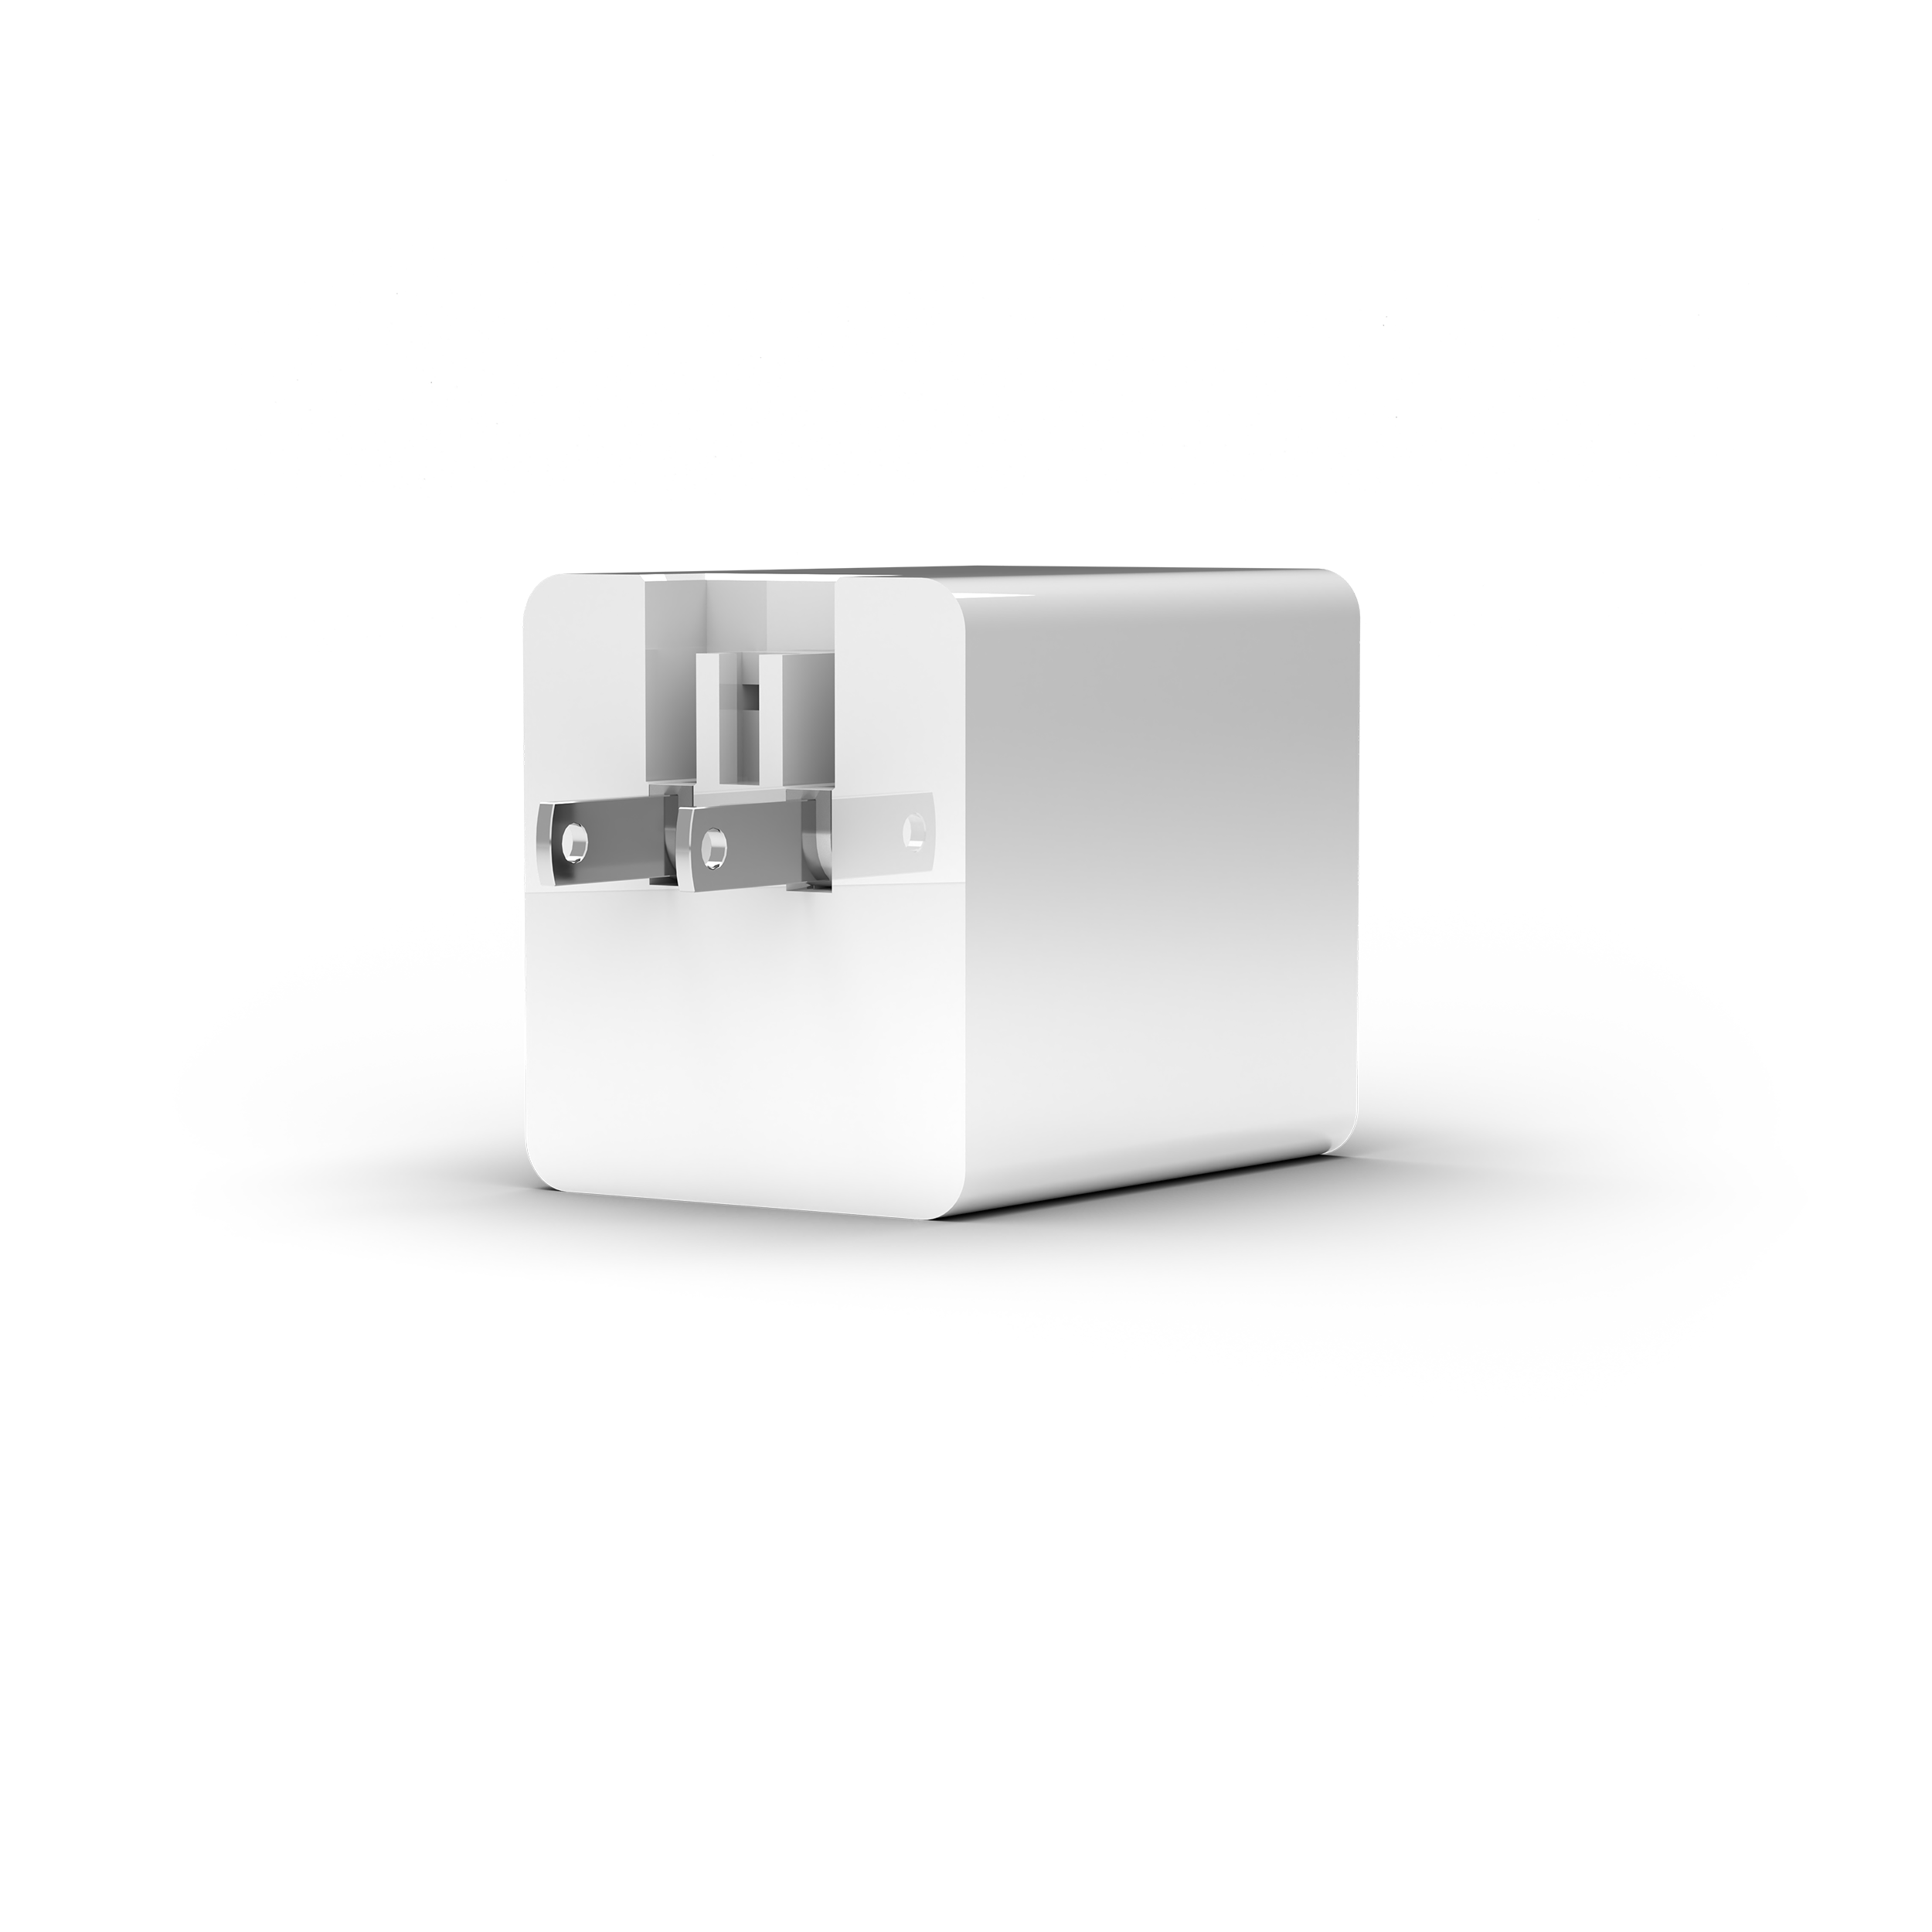
US-Plug
Quick Start Guide
Getting Started with an iPhone/iPad
Plug the iXCharger’s AC plug into a power outlet. Use a charging cable with a USB-C connection on one side and a Lightning or USB-C on the other side that corresponds to the device you will plug into. It’s suggested to use an Apple MFi certified charging cable to avoid any charging failures. Connect the USB-C end into the iXCharger’s USB-C port and the other end (Lightning or USB-C) into the connection port for an iPhone or iPad (refer to the image below).

*When using a USB-C cable that is rated as USB 2.0, you will not be able to achieve the highest data transfer speeds, as you would with a USB 3.0 version.
**In order to achieve power beyond 60W, the USB-C cable must be embedded with an E-Marker Chip. Check the cable specs to confirm.
Download APP
If this is the first time connecting your iPhone/iPad with an iXCharger, the system will prompt a message requesting you to download the iXCharger App. Please select the “App Store” to download the required App. If you do not see the prompted message, please go to the Apple App Store and search “iXCharger” to download.
Setting Up the App for the First Time
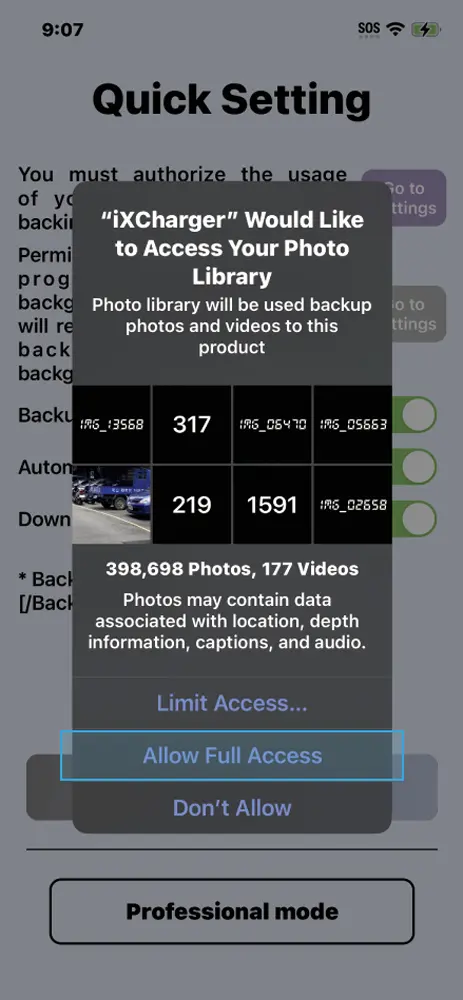
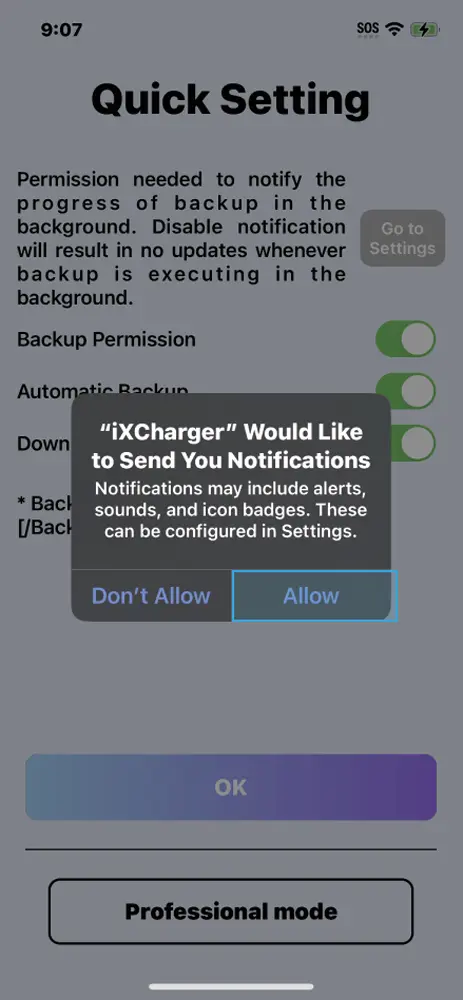
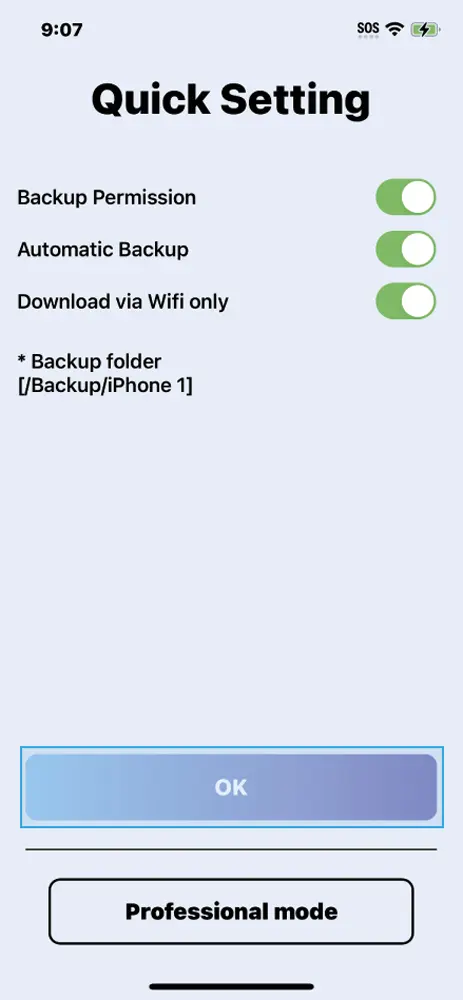
The first time you open the iXCharger App, it will prompt messages requesting permission to access the iPhone/iPad photo album and allow notifications. We recommend allowing all permission requests for best results.You may adjust these permissions in Settings.
App Home Page
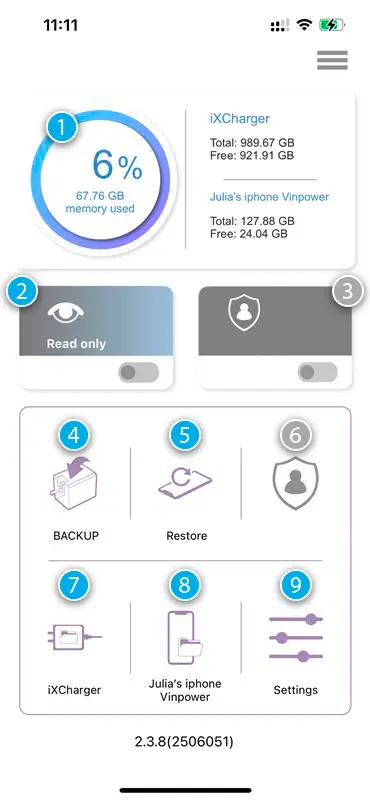
- Memory Used: Shows % of memory used from the total iXCharger capacity
- Read Only*: Turns on/off Read Only, which prevents any content on the iXCharger from being altered or deleted.
- Function not available.
- Backup-Icon: Backup all videos and photos stored on the iPhone/iPad.
- Restore-Icon: Stellen Sie alle Videos und Fotos, die auf dem iXCharger gespeichert sind, auf Ihrem iPhone/iPad wieder her.
- Function not available.
- iXCharger-Icon: View all content stored on the iXCharger.
- iPhone-Icon: View all content stored on the iXCharger App in your iPhone/iPad.
- Settings: Adjust settings for iXCharger.
Accessing the iXCharger through a computer or Android smartphone or tablet

- Use a USB-C to (USB-A or USB-C) cable to connect the iXCharger to an Android device or computer’s corresponding USB port.
- Open the drive folder on your Android device or computer associated with the iXCharger, similar to accessing a standard USB drive.
- Just like connecting to a USB, you can now view or access all files stored on the iXCharger.
- Be sure to properly eject the iXCharger before disconnecting from the computer.
- The iXCharger is capable of operating under Bus Power and does not need to be connected to a power source to access data through a computer, laptop, smartphone, or tablet with a USB-C connection.*
*To utilize the device’s charging feature, it must be plugged into an AC power source.
Can I use the iXCharger as both iPhone storage and a Time Machine backup drive?
Yes! The iXCharger can be set up with two partitions, allowing you to use it simultaneously as iPhone backup storage and as a Time Machine drive.
Here’s how to set it up:
- Open Disk Utility on your Mac (under Applications → Utilities).
- Go to “View” → “Show All Devices” and select the iXCharger’s physical device.
- Click “Erase” and choose “GUID Partition Map” as the scheme and “Mac OS Extended (Journaled)” as the format.
- Next, click “Partition” and use the plus (+) button to add a second partition, then set your desired size for each partition.
- Format the new partition as “ExFAT” for iPhone use.
- Finally, go to System Settings → General → Time Machine and select the appropriate partition as your backup destination.
Please note: Setting up the partitions will erase all data on the iXCharger. Be sure to back up any existing data beforehand.
Officially MFi-Certified
The iXCharger is Apple MFi-certified, meeting the highest standards for quality, safety, and compatibility. It offers reliable charging, stable data transfer, and protects your device from overheating or overvoltage – seamlessly integrated into your Apple ecosystem.
FCC Statement
This device complies with Part 15 of the FCC Rules. Operation is subject to the following two conditions:
- This device may not cause harmful interference.
- This device must accept any interference received, including interference that may cause undesired operation.
This equipment has been tested and found to comply with the limits for a Class B digital device, pursuant to Part 15 of the FCC Rules. These limits are designed to provide reasonable protection against harmful interference in a residential installation. This equipment generates, uses, and can radiate radio frequency energy and, if not installed and used in accordance with the instructions, may cause harmful interference to radio communications. However, there is no guarantee that interference will not occur in a particular installation.
If this equipment does cause harmful interference to radio or television reception, which can be determined by turning the equipment off and on, the user is encouraged to try to correct the interference by one of the following measures:
- Reorient or relocate the receiving antenna.
- Increase the separation between the equipment and receiver.
- Connect the equipment into an outlet on a circuit different from that to which the receiver is connected.
- Consult the dealer or an experienced radio/TV technician for help.
FAQ
Does the iXCharger work without the app?
Yes. You can use the iXCharger like a regular charger – no app required. However, the free iXCharger app (available on the Apple App Store) is needed to access backup and storage features.
Which devices are compatible with the iXCharger?
The iXCharger is designed for Apple devices but also works with Android, Windows, and Linux devices. It can be used universally as a charger and for accessing the connected USB-C storage. The backup feature via the iXCharger app is currently available for iOS and Android. On Windows, macOS and Linux, it can be used as external USB storage.
How does the automatic backup work?
Once you connect your iOS or Android device to the iXCharger, the backup of photos, videos and contacts to the connected USB-C storage starts automatically – after a one-time setup.
Do I need to buy storage separately?
No. The iXCharger comes with built-in storage of up to 1 TB – depending on the model. So there’s no need for an additional storage device for backups or data transfers. Please note: the storage is not expandable!
Can I use the iXCharger on the go?
Yes. The iXCharger is compact, travel-friendly, and ready for worldwide use. It features a built-in US plug that also serves as the base for the included EU or UK adapter (depending on the model). This makes it easy to use the iXCharger in different countries – perfect for travel.
What happens when the storage is full?
The app will notify you when storage space is running low. You can then either transfer data to another drive or use a new USB-C storage device.
What should I do if the iXCharger app doesn’t open automatically or backup isn’t working?
In most cases, this happens because the iXCharger app hasn’t been downloaded yet. Simply open the Apple App Store, search for “iXCharger” and download the app. Once installed, it should be automatically recognised, and the backup function will work as intended.
Why can’t I open my backed-up iPhone photos and videos on a Windows PC?
iPhones save photos in the HEIC format, which is often not supported by Windows computers without additional software. To ensure your backed-up photos display correctly on Windows, the iXflash app offers automatic conversion to JPG during backup. You can easily enable this feature in the app settings..
Videos are saved in the HEVC (H.265) format used by iPhones. Since Windows Media Player doesn’t support this standard, we recommend using a compatible player such as VLC or KM Player. These programs can play HEVC videos without any issues.
Can I use the iXCharger as both iPhone storage and a Time Machine backup drive?
Yes! The iXCharger can be set up with two partitions, allowing you to use it simultaneously as iPhone backup storage and as a Time Machine drive.
Here’s how to set it up:
- Open Disk Utility on your Mac (under Applications → Utilities).
- Go to “View” → “Show All Devices” and select the iXCharger’s physical device.
- Click “Erase” and choose “GUID Partition Map” as the scheme and “Mac OS Extended (Journaled)” as the format.
- Next, click “Partition” and use the plus (+) button to add a second partition, then set your desired size for each partition.
- Format the new partition as “ExFAT” for iPhone use.
- Finally, go to System Settings → General → Time Machine and select the appropriate partition as your backup destination.
Please note: Setting up the partitions will erase all data on the iXCharger. Be sure to back up any existing data beforehand.
Technical Specifications
| Storage Capacities | 128 GB, 256 GB, 512 GB, 1 TB (up to 2 TB in some international models) |
| Ports | USB-C (integrated), for charging and data transfer |
| Read Speed | 80 – 90 MB/s |
| Write Speed | 60–70 MB/s |
| Input Voltage | 90 V – 265 V |
| Output Power | 15 W: 5 V @ 3 A 27 W: 9 V @ 3 A 36 W: 12 V @ 3 A 45 W: 15 V @ 3 A 65 W: 20 V @ 3,25 A |
| Power Technology | GaN & Active Clamp Flyback (ACF) |
| Energy Efficiency | >93 % @ 230 V / DoE Level VI & CoC V5 compliant |
| Compatibility | iOS, Android, Windows, macOS, Linux |
| Backup Function | Automatic backup of photos, videos & contacts while charging (incl. Time Machine for macOS) |
| App | iXCharger Backup App (free for iOS and Android) |
| Standalone Use | Usable as standalone external storage |
| Operating Temperature | 0 – 40 °C |
| Dimensions (W × H × D) | 5.8 cm × 4.9 cm × 4.2 cm |
| Weight | 108 g |
| Warranty | 2 years |
| Other | ESG-friendly multitool device, adapter-compatible for global use |
Safety and Usage Instructions
- This product is intended for use with PCs and related IT equipment.
- Do not use the device if the ambient temperature exceeds 35°C / 95°F.
- If the plug prongs break off, the product should no longer be used as a charger. However, it may still function as an external storage device.
- To clean the product, use only a dry cloth or brush.
- It is recommended to connect the device to an AC power outlet that is nearby and easily accessible.
- Any malfunction related to this product – especially the power supply – should only be inspected and/or repaired by an authorised representative. Please contact us to locate an authorised service partner near you.